by Tom Barrance

Shot size means how much of the scene is included in the picture, and whether it mainly shows the setting, people in the setting, or details of faces and things.
It’s important to use different shot sizes in your movie. It’s a way of spelling things out, to make sure that people see exactly the things you want them to see. If you shoot everything in long shot (head to foot) people will probably miss details and expressions which would help them understand the story.
Most filmmakers use standard names for shot sizes.
Want to know more? My 163-page illustrated ebook Start Making Movies explains the filmmaking process, what you need, and how to use images and sound to tell your story. It’s now ‘Pay What you Want’ (suggested price $15).
Showing the setting

Extreme long shots or wide shots mainly show the setting: if they include people, they’ll be very small. You can use these kinds of shot as ‘establishing shots’ at the beginning of a film or a sequence to show where the scene is set.
Showing people in an extreme long shot can make them look lost, lonely or insignificant. (Some people use the term very long shot to refer to a wide shot where you can see people).
Introducing people
To show people in the setting, you need to get closer.
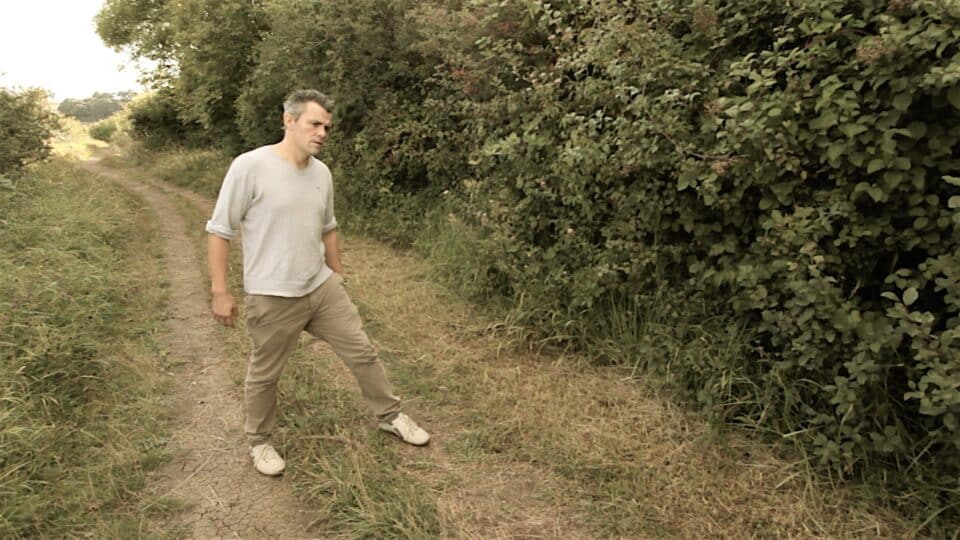
Long shots show people from head to toe. These are good for showing people together, and for showing action.

Medium long shots are closer. They’re sometimes called three-quarter shots because that’s how much of the body they include.

Mid shots (or medium shots) show people from their hips to head.
These kinds of shots are easier to use than closeups, particularly for moving subjects, but they don’t have as much impact.
Using close-ups
Don’t make the mistake of shooting the whole film with just mid or long shots: take the time and trouble to use close-ups as well. This will give it more impact and help your viewers to understand the story.
Close-ups let us see expressions and emotions. There are several kinds of close-up, and as you move closer they get more intense.

A medium close-up shows the head and shoulders. It’s fairly loose, so the subject can move a bit. This is a good shot for presentations to camera.

A standard close-up shows the head and maybe a bit of the shoulders.

You can use a big close-up – which just shows the main features of somebody’s face – to show a strong emotion like sadness, or to make somebody look scary.

You can even use extreme close-ups, which just show part of somebody’s face like the eyes or the mouth.
For an emotional scene, try starting with fairly loose framing (maybe mid shots) and then use bigger and bigger close-ups to build up the intensity.
You can also use close-ups of things, to show patterns and details.

An insert is a kind of close-up that shows something important that viewers might miss. So if you show a mid shot of somebody holding an object or reading a note, you would follow it with a close-up insert that shows what they’re holding or reading.
When you film close-ups, you need to be very careful about how you frame your shots, and you usually need to keep the camera as still as possible.
Stepping between shot sizes
A lot of films start with an extreme long shot to show the setting, then they cut to long shots and mid shots of people in the setting, then they show close-ups. This is a good way to set the scene and bring the audience with you so they know exactly where the people fit into the bigger picture.
But you don’t have to work this way. You could keep viewers guessing by starting with a close-up or an extreme close-up, and not revealing the setting until later.
Change position as well as shot size
When you change shot size, you should usually move the camera to a different position around the subject to make the edit less obvious. So if one shot is from directly in front, the second should be at an angle or from the side. If you don’t do this, you may get a jump cut where the camera seems to ‘jump’ forwards or backwards. See Putting it together.
My Filmmaking Ebook
 Start Making Movies is my 163-page illustrated guide to filmmaking, drawing on more than thirty years' experience of teaching film. It starts from the basics and takes you through how films tell stories, what gear you need, and how to plan, shoot and edit your own short movies or videos.
If you can't afford the guide price of $14.99, just pay what you can.
Check it out here
Opens Payhip store in a new tab.